Progressive Rock Artist seeks Audience

Author: colin (Page 7 of 39)

September

OMG THE NEW HOTNESS, IT CAME OUT OF NOWHERE:

Seriously, it’s like some kind of Golden Age.

Recording vocal tracks is stressful. For a start, you want to be in “good voice” but at my age that doesn’t happen automatically. Then comes the worse part: reviewing numerous vocal takes, selecting the best ones. I don’t know anyone who likes listening to their own voice. I prefer not sounding like a robot, so pitch and timing tweaks need to be applied carefully and surgically, which is tedious.

On the plus side, the next stage of the process can be glorious, when the best lead and backing vocal takes are assembled, panned, mixed and additional fairy dust reverb applied… and it sounds amazing. (relatively)


It’s all very well going around saying, “the album is 75% completed” but that remaining 25% doesn’t write itself. I’m currently in that composition space trying to modulate from D to E in a creative way that uses motifs from the existing sections of music, and suffering from something akin to the TETRIS Effect in that all I can hear in my head is that really bad attempt that I practiced but now hate hate hate. I have the correct solution, I think, but all I can hear is that bad one. Distracting. Maddening. Maybe it’s actually the “advertising jingle effect”?

Using a MIDI controller with Guitar Rig VST in Cakewalk

I’m writing this post mostly to remind myself how it’s done.

Overview: I’ve got a nice setup in Guitar Rig, including a virtual volume pedal,  and I really want to be able to control it using a MIDI controller foot pedal.

Step 1 – Add an audio track for our guitar, to capture the guitar performance.
You’ll also want to select the appropriate input channel on your audio interface.

Step 2 – Put an instance of Guitar Rig in the FX bin, and select our super-awesome patch:

image

Step 3 – Using the VST2 drop-down menu in the plugin header, select “Enable MIDI Input”:

image

Step 4 – Add a MIDI track to capture the MIDI controller data.

Step 5 – Assign the appropriate input channel for the MIDI track.

In my case, MIDI control data will be generated from my Roland A-80 controller keyboard with various pedals connected to it, connected to the Midisport 2×2 In A, so I assign the input channel thusly:

image 

Step 6 – Assign the output channel of the MIDI track to the Guitar Rig Plugin.
This is possible because we enabled MIDI input in Step 3 above – we get an option to select the plugin as the destination for the MIDI data in the output channel list:

image

Step 7 – Define a controller inside the Guitar Rig plugin

Go to the Options > Controller tab in Guitar Rig, and click on “Add Controller”.

image

At this point, a “New Control” module appears in the Controller list in Guitar Rig.

Step 8 – Click the “Learn” button and wiggle the controller’s foot pedal:

image

Notes:

  • Obviously the controller must be turned on!
  • Assuming the foot pedal has been assigned to CC#4 (which is typical), you should see the controller number appear against the control definition in Guitar Rig.
  • For diagnostic purposes, it helps to have the meters in Cakewalk displaying incoming MIDI messages.

Step 9 – Assign the controller to the Volume Pedal

In the controller list, click on the Menu button and select Volume Pedal > Pedal

image

At this point, moving the expression pedal should be reflected in Guitar Rig’s UI as moving the volume pedal level:

ExpPedal_Volume

If we now arm both tracks for recording, we can record the guitar audio and the MIDI controller data at the same time, capturing the performance.

Guitar Amplifier Simulators – Introduction

The “Producer” tier of Cakewalk’s SONAR has included bundled 3rd party plugins over the years. Some of these were “limited” editions, and some were full products. It’s had some kind of amplifier simulator plugin ever since version 8, I think it was Guitar Rig 3 LE (limited edition).

Most recently prior to Cakewalk’s BandLab acquisition, it included a special “Cakewalk edition” of Overloud’s TH3. Now that Cakewalk (formerly known as “SONAR”) is distributed at no charge by Bandlab, it does not include any bundled 3rd party plugins.

At some point I installed IK Multimedia’s AmpliTube 3 which could be downloaded for free back in 2011. (It’s now at version 4.)

Since then I must have taken advantage of one of the periodic bargain upgrade prices for Guitar Rig, because on my DAW, the full version 4.0 was installed. This week I upgraded Guitar Rig to version 5.

These are all good products, but I haven’t really explored them in detail because I tend to use hardware FX for guitar and bass recording, specifically the Line6 POD 2.0, with which I’ve always obtained good results.

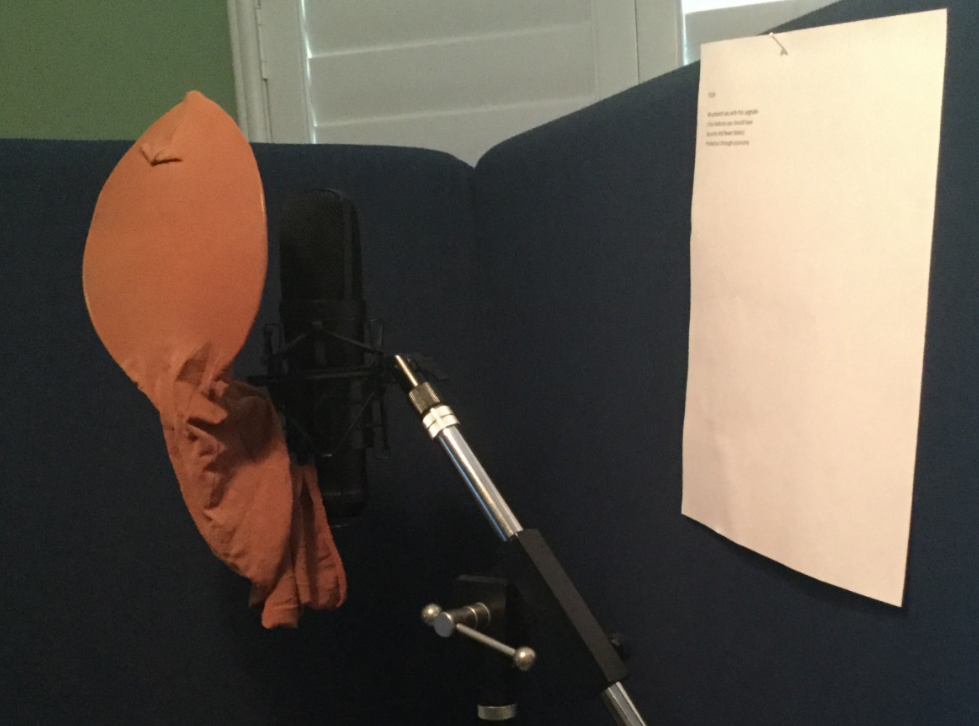
But creativity is fostered through experimentation and playing around, which brings me to this month, in which I re-wired my bass in stereo, and started playing around with amp simulator plugins. Specifically, parallel effect chains for the stereo bass signal.

I got interesting results with the time-limited demo of the full version of TH3, but the Cakewalk edition that I have installed is too feature-limited. The full version TH3 is no longer supported, and it costs more money than I’m comfortable with to get to the current offering, TH-U.

I’ve had more luck with Guitar Rig 4, partly because it is a “full” product. When I checked the Native Instruments web site, I saw I could upgrade to the latest version 5 at a very nice price, so I did – even though it hasn’t been updated since 2011.

Guitar Rig (like its brethren) provides a container in which you can build a series of virtual effect units and amplifiers and speaker cabinets into a customized signal chain. This is pretty cool, but it does lack the interactivity of a physical pedalboard, unless you pair the software up with a special hardware controller, such as the Rig Kontrol:

image 

This physical pedalboard plugs into your computer via MIDI or USB and can talk to the virtual effect rack. You can enable or disable effects in the chain, or manipulate volume or wah pedals.

Unfortunately, it is no longer supported, although you can find them on ebay, reverb, etc.

On the plus side, if you have a MIDI controller in your studio (such as a keyboard with an expression pedal) then you can use that instead. Which is what I’ll write about next.

Diagnosing a randomly changing patch in a VST instrument

This is going to be a somewhat random post but I want to record this before I forget what I just found out.

I was playing around with Arturia’s CS80V when the patch I was playing suddenly changed: the release time increased. Also I could see the patch had changed because an asterisk appears in the patch name.

I reset the patch by selecting it in the browser, and continued playing. Suddenly, it happened again!

This time I watched the GUI of the synth to see if I could see it happen:

image

Sure enough, about a minute later the patch changed sounds and something caught my eye – a slider had changed positions:

image

Moving the slider back restored the original sound (although of course, the patch was still “changed” as far as the environment was concerned).

OK, how to diagnose this? I’ll cut a long story short and say eventually I set a track to record MIDI data from my controller, in case something funky was entering the MIDI event stream, and played a few notes.

A short time later, I had this:

image

Those vertical lines are Continuous Controller (CC) events:

image

I was recording on Track 2 and that’s three events for Continuous Controller 83 that I can’t explain.

I need to find out why my Roland A80 master keyboard is emitting these controller events. Is this new behavior, or has it always happened?

Normally they are harmless, I guess, but the default MIDI Controller mapping for CS80v  has CC# 83 mapped to this VCA envelope release time slider:

image

So that explains the phantom finger on the slider. The ones in RED have been set to respond to a specific CC#.

It’s easy enough to fix – we can use the MIDI Mapping feature in Arturia’s software instruments to load an “empty” controller mapping:

image

Now the patch remains unchanged even when I play back the track containing the controller data.

Next up, find out why the A80 is emitting those random controller values…

Another Way to Skin an FX Send

Modern digital audio workstations offer a plethora of ways to solve your mixing and routing problems. Inspired somewhat by Craig Anderton’s latest column in Sound on Sound, I discovered a new way to apply reverb selectively to multiple tracks, in Cakewalk By BandLab using the Sonitus Reverb VST. Here’s my use case:

I have Lead and Backing vocal tracks, and I want to apply a long-tail reverb to portions of the verse and chorus phrases. (The main sustained notes provide a wash of reverb in the background, but keeping it clean and un-muddled by fricatives and fast syllables.)

In the past I have created a “VOX FX” Buss, put an instance of Sonitus Reverb on it, and directed it to feed the “VOX” main buss. Finally, I add a Send on each vocal track to feed the VOX FX, and use “Send Level” automation on each track:

image

This works well, and allows the automation curves to be adjusted per-track.

But what if you have more than two tracks, and per-track envelopes isn’t needed? Could there be a way to send audio to the reverb using a single automation curve? I experimented with using an Aux track, intending to add a send on each vocal track to the Aux track, then use the “Automated Send To FX Buss” trick described above.

However, I realized that I could simplify things by putting the reverb effect on the Aux track itself, and then automating the “VST Input Level” instead:

From the Edit Filter selector (displaying “Clips” by default) we can drill down into the Sonitus Reverb and select “Input” from the automation choices:

image

Now we can draw the automation envelope (only one is needed) to control the amount of audio from all tracks being processed by the reverb:

image

This gets the job done, and no need for a general purpose fx buss.

As I mentioned above, there are good reasons NOT to do it this way – but it is nice to have the option.

UPDATED 27 Sep 2019

It seems you can’t “freeze” an AUX track, so if you find yourself in the resource crunch and the FX bin on the Aux track is CPU-heavy, well, that’s another good reason not to use this technique.

« Older posts Newer posts »

© 2024 The Prodigal Sounds

Theme by Anders NorenUp ↑